


Latest News


Want more of our stories on Google? Click here to make us a Preferred Source.
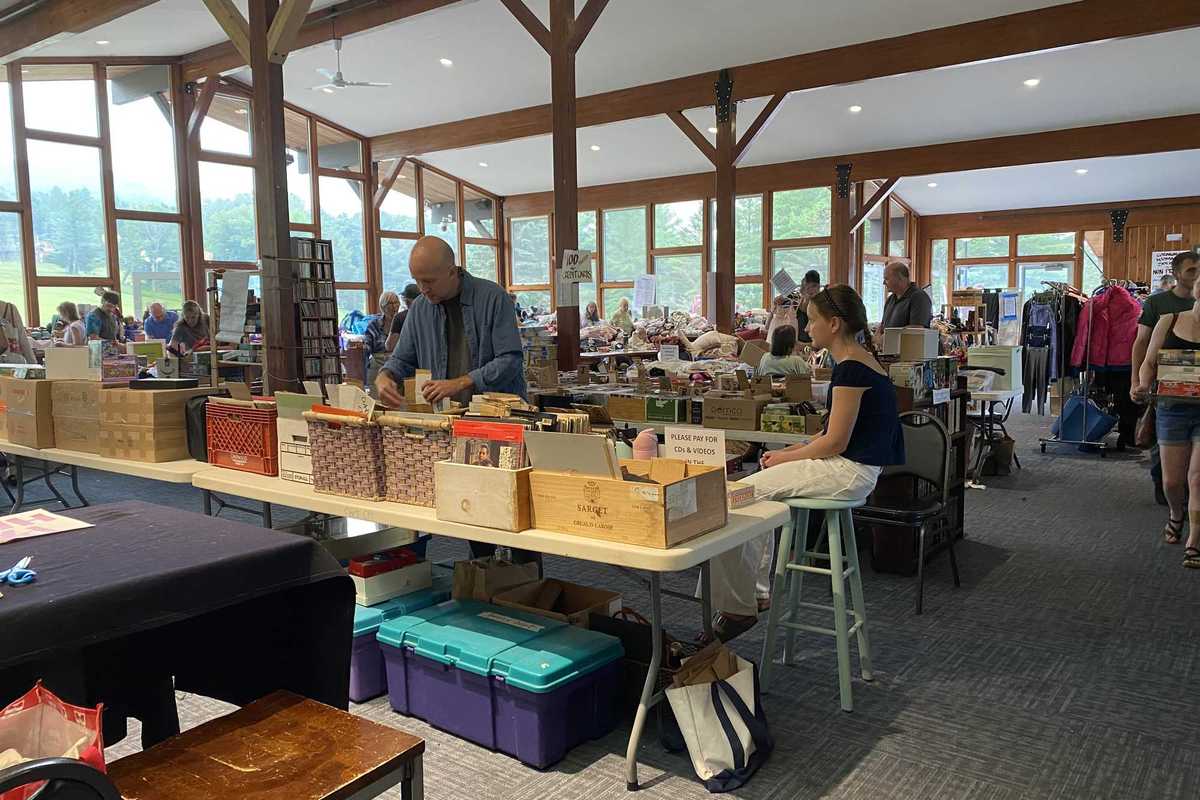
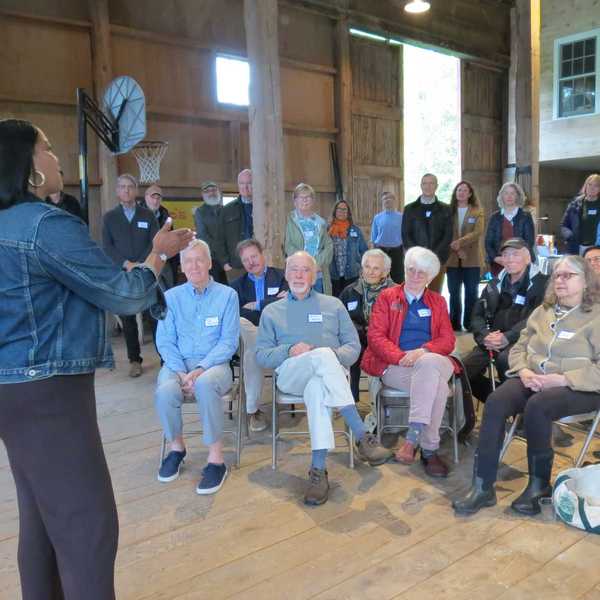
Volunteers at the historic 2026 Cornwall Woman’s Society Rummage Sale sort items Saturday, July 18.
Leila Hawken
“There were a lot of moving parts,” said Cheryl Thibault, who was the head of this year’s rummage sale. “It takes the organization well over one hundred people to keep this thing running.” Many regulars noticed that this was an especially busy year for the event.
The proceeds support a variety of causes, including the Cornwall Women’s Society Educational Grant, which awards funds to residents who attended Cornwall Consolidated School, as well as donations to local nonprofit organizations in the Salisbury-Lakeville area and the Torrington Community Kitchen.
“This year we ended up with 10 kids,” Thibault said. “Which is amazing, because the last two years have been slightly slow.”
The grant offers money toward future educational expenses, from tuition to school or work supplies. Applications are reviewed by the society’s education committee, and each student is interviewed by committee members.
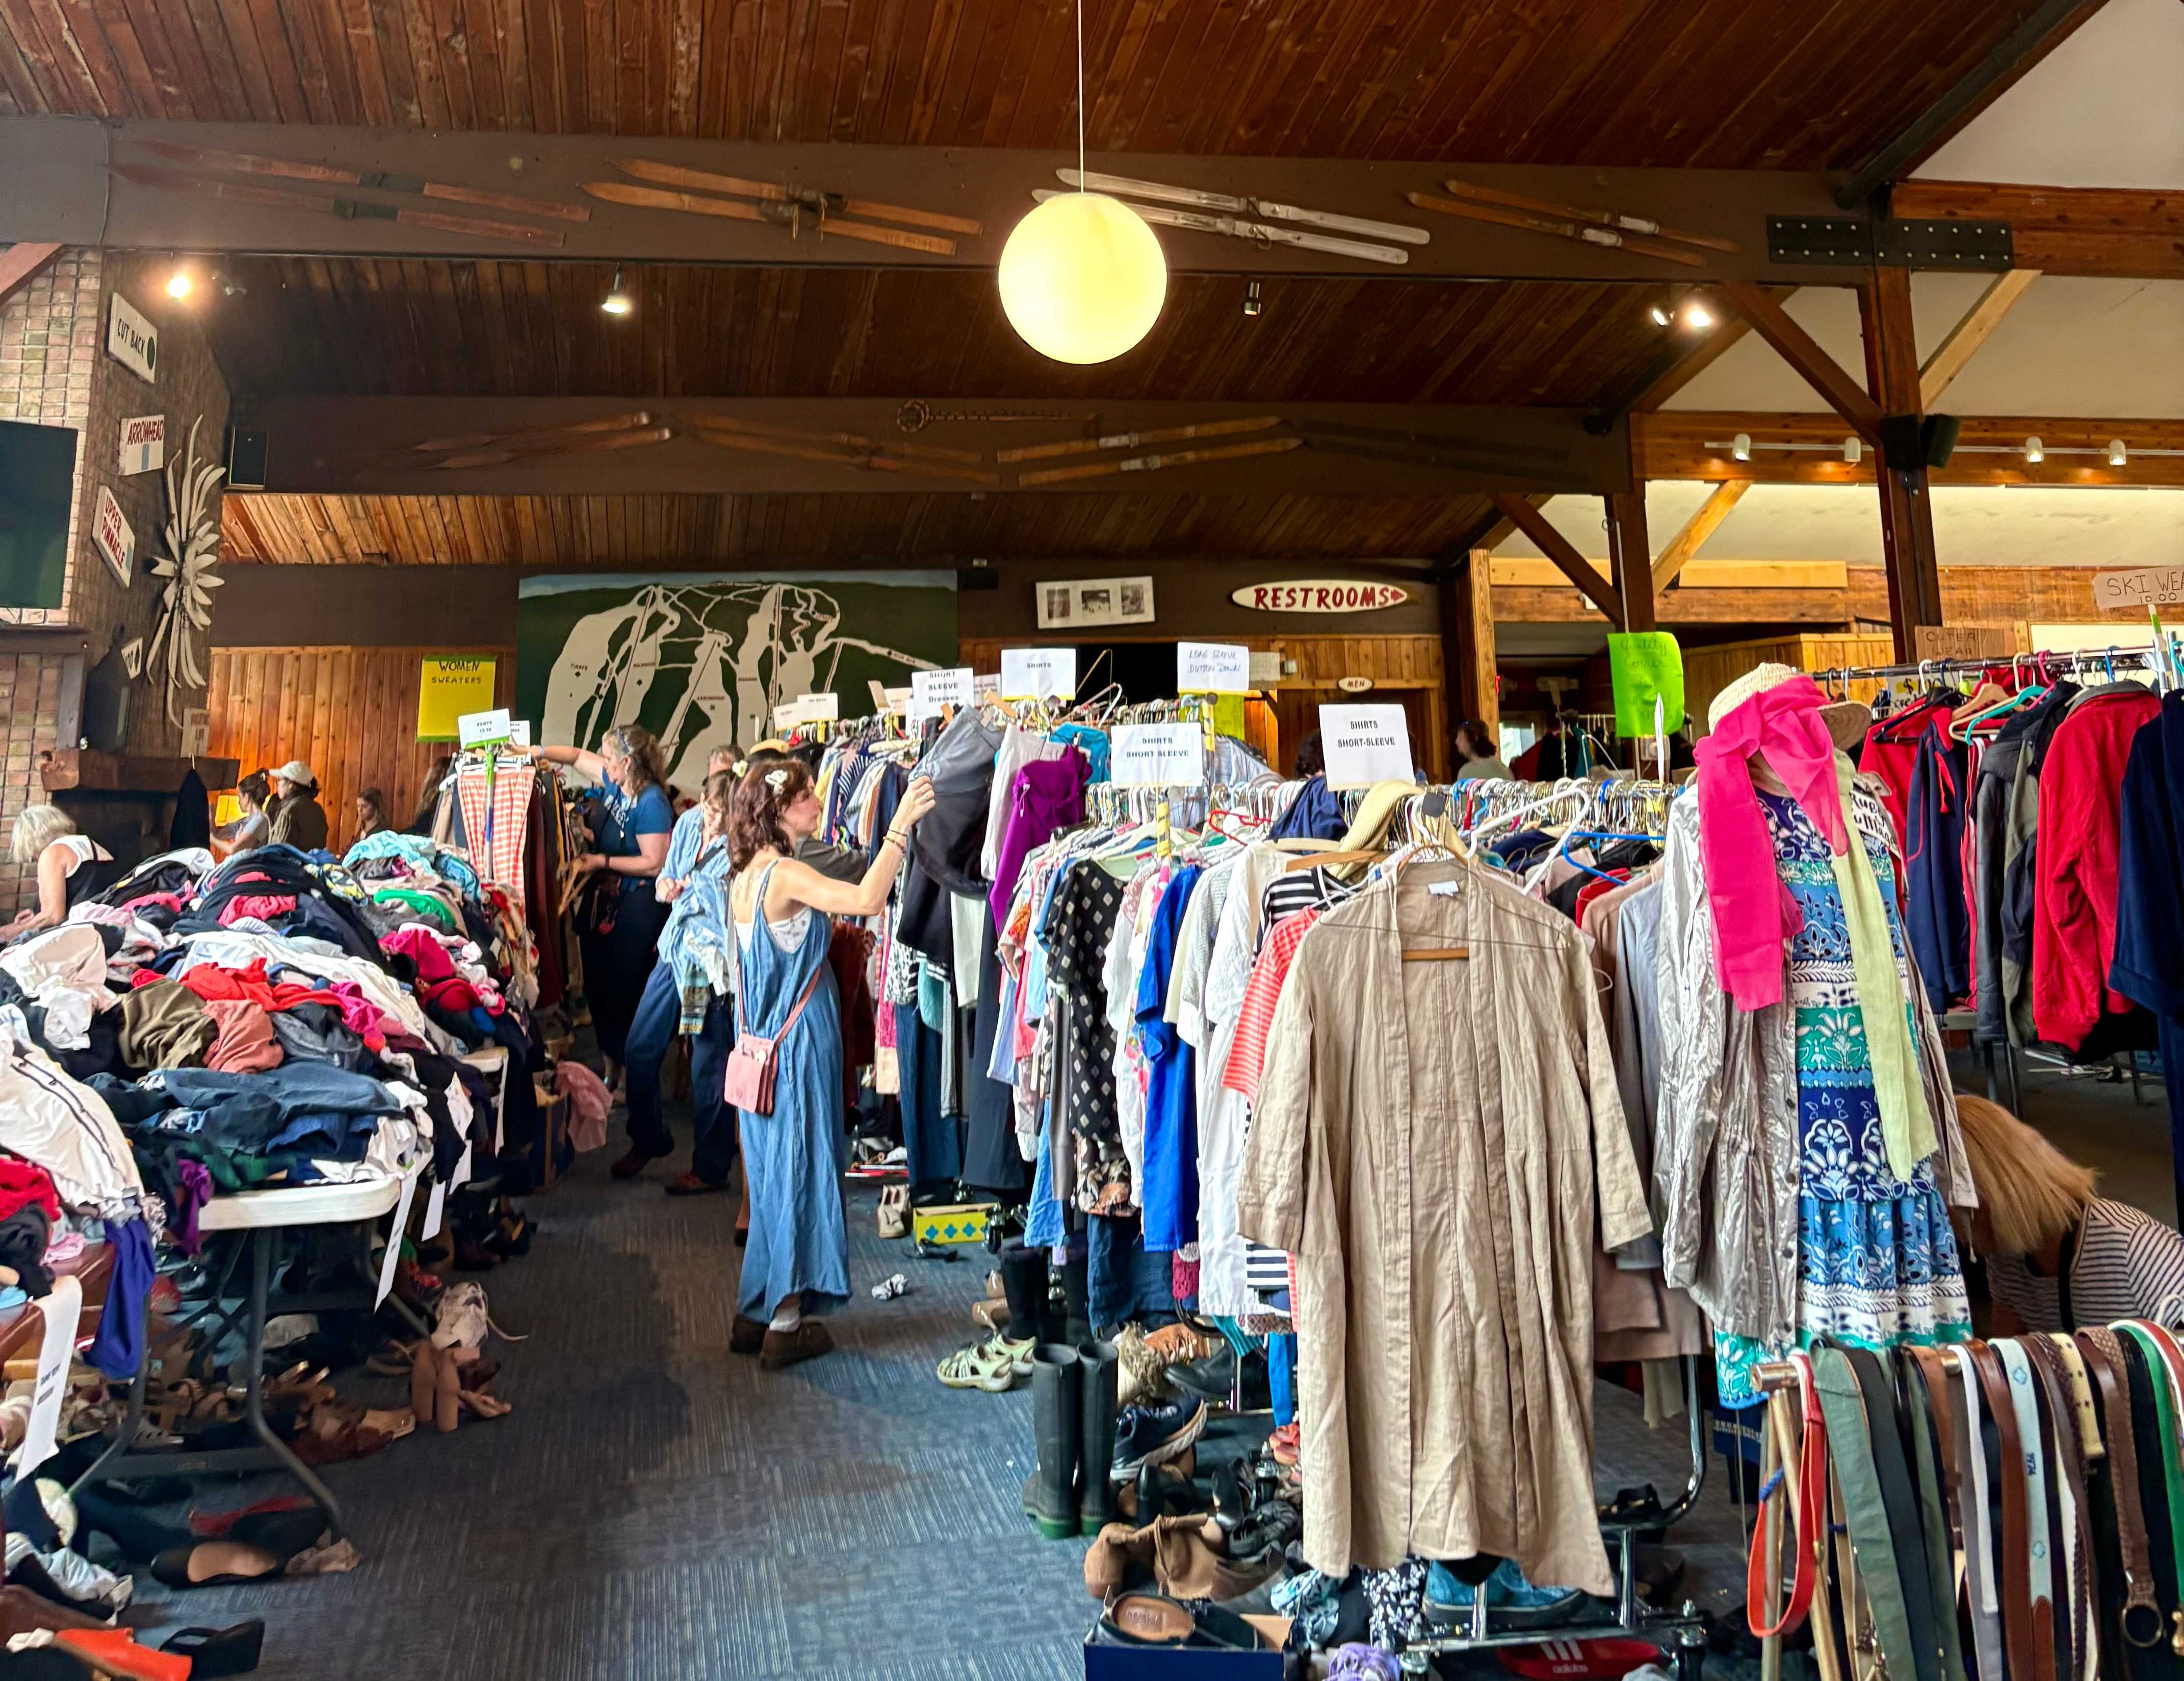 Racks and piles of clothing and accessories take over the ski lodge during the sale.Mia DiRocco
Recent Housatonic graduate and lifelong Cornwall resident Steven Barber is one of the recipients of this year’s award and is pursuing a degree in mechanical engineering at Central Connecticut State University.
“I plan to use this degree in an automotive field, for designing either production or race cars,” Barber said. “The grant will help me pay tuition for school to receive my degree.”
Fellow recipient Henry Berry is also a recent Housatonic graduate and plans to attend Eastern Connecticut State University.
“I’m going to use part of it for my tuition, and the rest for all the supplies I’ll need.”
Organizers recruit both volunteers and paid student helpers known as the gophers, who are made up mostly of middle school students from the Cornwall area.
“I really enjoyed meeting new people from Cornwall, and I also love clothing, so that was a fun part,” said Claire Barbosa, a graduate from this year’s Cornwall Consolidated eighth grade class, and one of the many students working the sale this summer. “This year is my first year working at the Rummage Sale, and I’ve really loved it so far.”
The students and volunteers spend two weeks prior to the event accepting donations, bringing them to the lodge and setting up the store.
“It gets a little chaotic with stuff coming from everywhere,” Barbosa said.
The staff are constantly working to keep tables organized, help out customers, and keep everything running smoothly.
However, the Rummage Sale gives back in more ways than one.
“It’s not just the educational grants,” said Thibault. “It’s donations to all the various nonprofit organizations that we have here.”
The Rummage Sale has been treasured by the Cornwall community for more than 100 years and continues to not only help declutter kitchens and clean out closets, but also give back to residents and the Northwest Connecticut community.
Want more of our stories on Google? Click here to make us a Preferred Source.